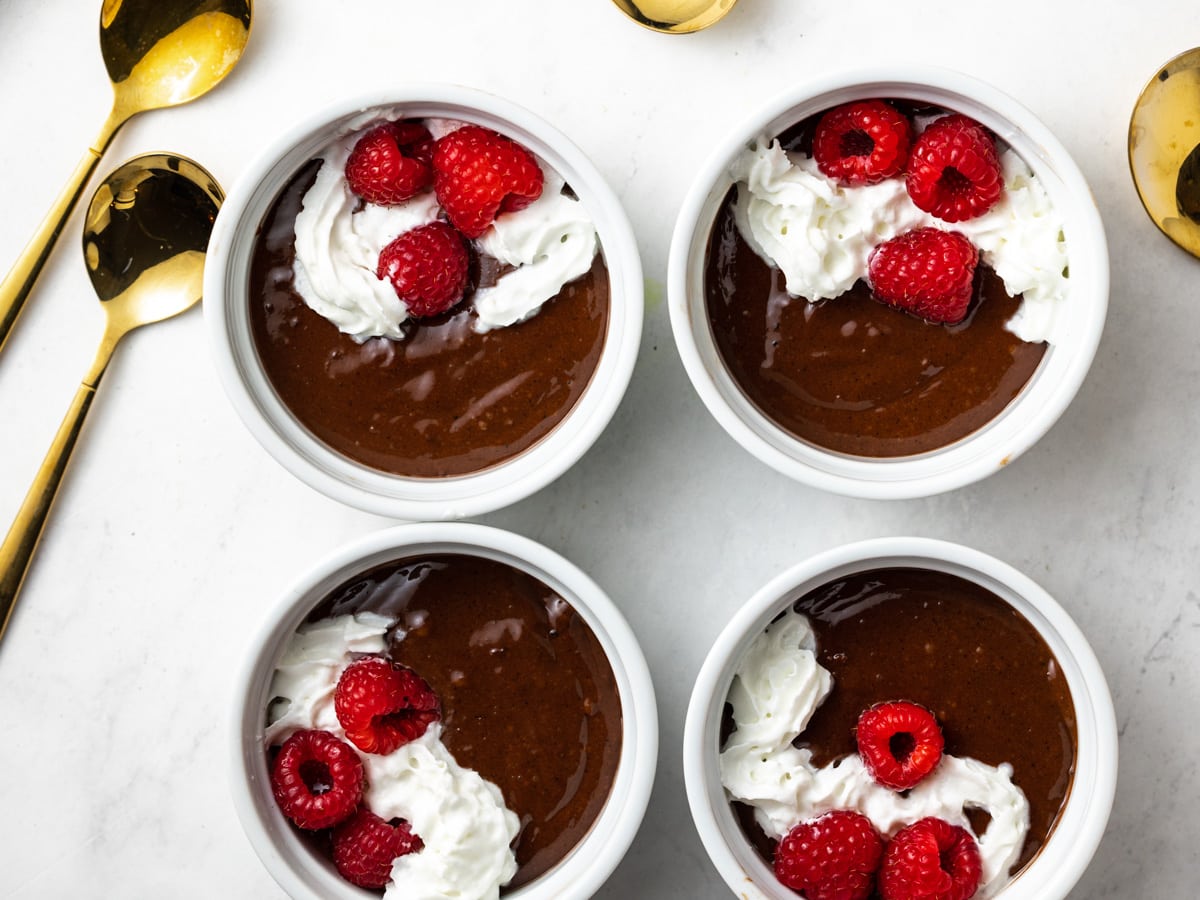
This chocolate protein mousse is rich, delicious and... healthy. Thanks to a few smart ingredient swaps, I've made a healthier twist on the traditional dessert that's packed with protein and good fats. I promise you're going to love it.
Jump to:
Why should you try this recipe?
Here's why you'll love this chocolate protein mousse:
- It's easy to make. This high protein dessert can be prepared in 20 minutes. It does need to be refrigerated for 2 hours to get that sought after mousse consistency. But, that's as easy as planning ahead and sitting around.
- It's healthier than the traditional variety: I made all the healthy swaps when creating this recipe. I put in greek yogurt instead of heavy cream. I also replaced high sugar milk chocolate with lower sugar varieties like dark chocolate and stevia chocolate chips.
- It's delicious: And, guess what? Trying this chocolate mousse, you wouldn't even know that I made all the healthy swaps. This creamy, rich protein dessert will 100% satisfy your sweet tooth. It's decadent, and also satisfying thanks to the protein and healthy fats.
- It's protein packed That's all thanks to some star ingredients like greek yogurt, eggs, protein powder, and even the dark chocolate. See the nutritional information on the recipe card for all the macro details.
Scroll down to see the printable recipe with nutritional information.
Ingredients
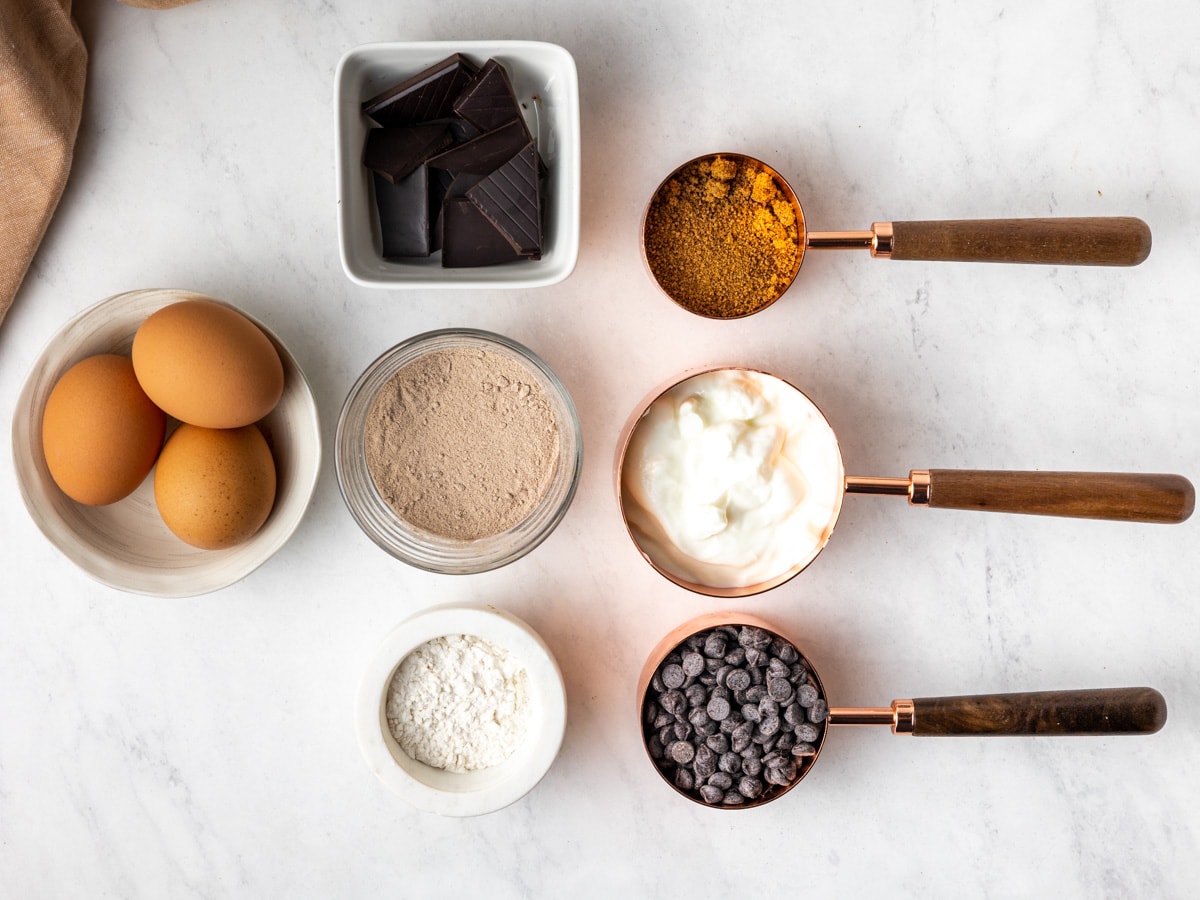
Here's what you'll need for this protein chocolate mousse recipe.
- Eggs: Raw eggs are the key ingredient in this chocolate protein mousse. They are responsible for the fluffy, creamy texture. A mousse without raw eggs will lack that, no matter what is promised.
- Non-fat greek yogurt: Traditional chocolate mousse uses cream to thicken and add flavour. I've replaced this with greek yogurt to increase the protein content in the recipe. You won't even notice the difference.
- Coconut sugar: For a warm, caramel like sweetness.
- Flour: A thickening agent. Cause we want that creaaaaamy mousse.
- Dark chocolate: All types of chocolate can be used to make chocolate mousse. But, I like using a mix of 90% dark chocolate and stevia chocolate chips. It provides a flavour and sweetness that I like. And, both are lower sugar, healthier alternatives to milk chocolate.
- Stevia chocolate chips: My favourite brand is Lily's Dark Chocolate Chips. If you don't have these on hand, feel free to replace with dark chocolate instead.
- Chocolate protein powder: This recipe is written to use whey protein powder. If you want to use vegan protein powder, see my recipe variations below. Also, be sure to use a clean protein powder.
- Sea salt: To bring out all the other delicious flavours.
Scroll down to find the printable recipe with ingredient measurements.
Recipe Variations
- Make without protein powder: If you don't want to use protein powder, you do you. You can simply leave it out. The chocolate protein powder does add sweetness, however, so I'd include a little more chocolate to compensate.
- Use vegan protein powder: Vegan protein powders act like flour and absorbs a lot of liquid. If you decide to use it, I'd increase the greek yogurt to add more liquid to the recipe. I haven't tried this personally, so you'll need to play around with the proportions.
- Add nut butter: If you want to make this recipe higher in calories or healthy fats, then add in nut or seed butter. This will thicken the mousse up even more. So, it's a win-win.
- Add optional toppings: The world is your oyster here. Although, I wouldn't top this protein mousse with oysters. Some of my favourite toppings for this protein mousse are whipped cream, berries, sliced banana, dark chocolate shavings, cacao nibs, chopped nuts, hemp hearts, drizzled nut butter, and unsweetened coconut flakes.
Instructions
Let’s break it down step by step to take any guesswork out of this protein chocolate mousse.
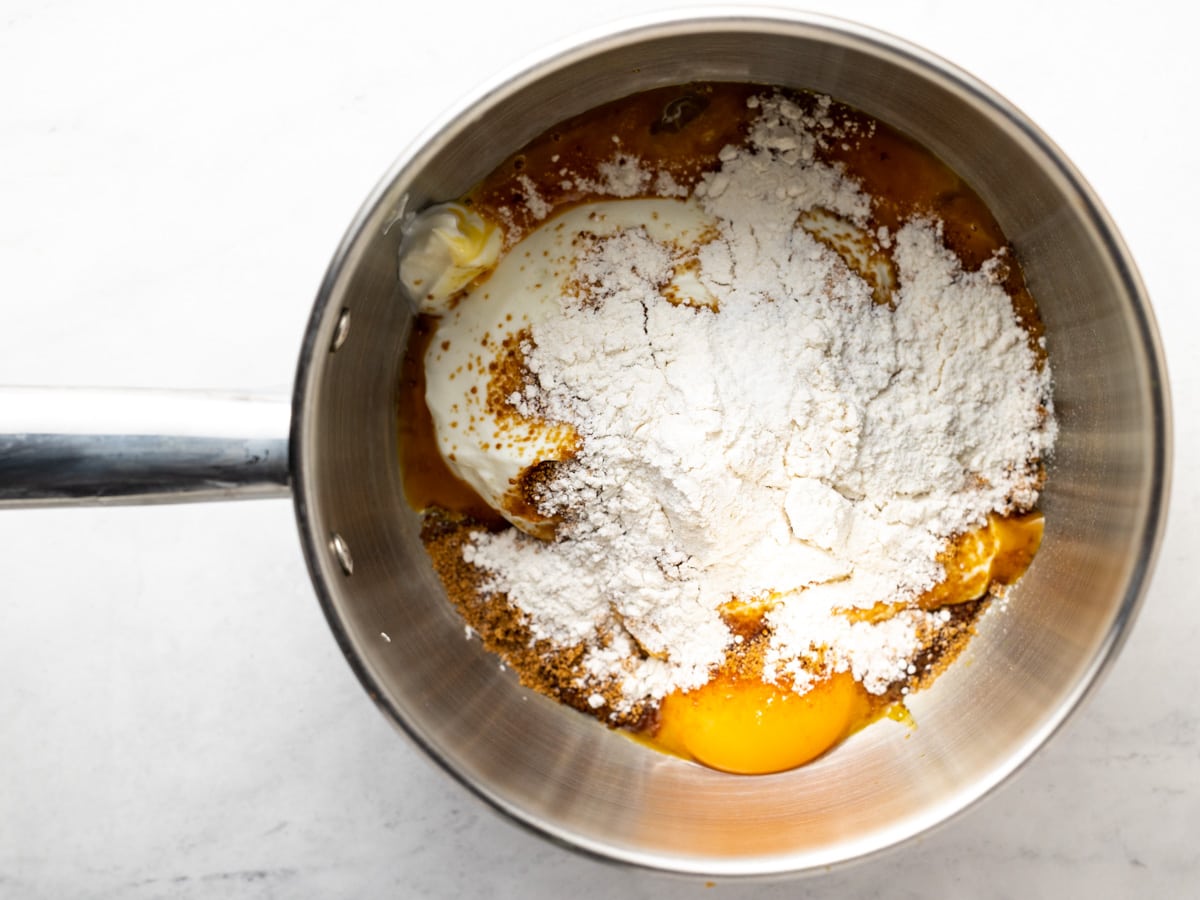
- Add egg yolks, greek yogurt, protein powder, coconut sugar, flour and sea salt to a small saucepan. Whisk until combined.
- Place saucepan on stovetop and warm mixture over low heat. Stir constantly for 3 minutes.
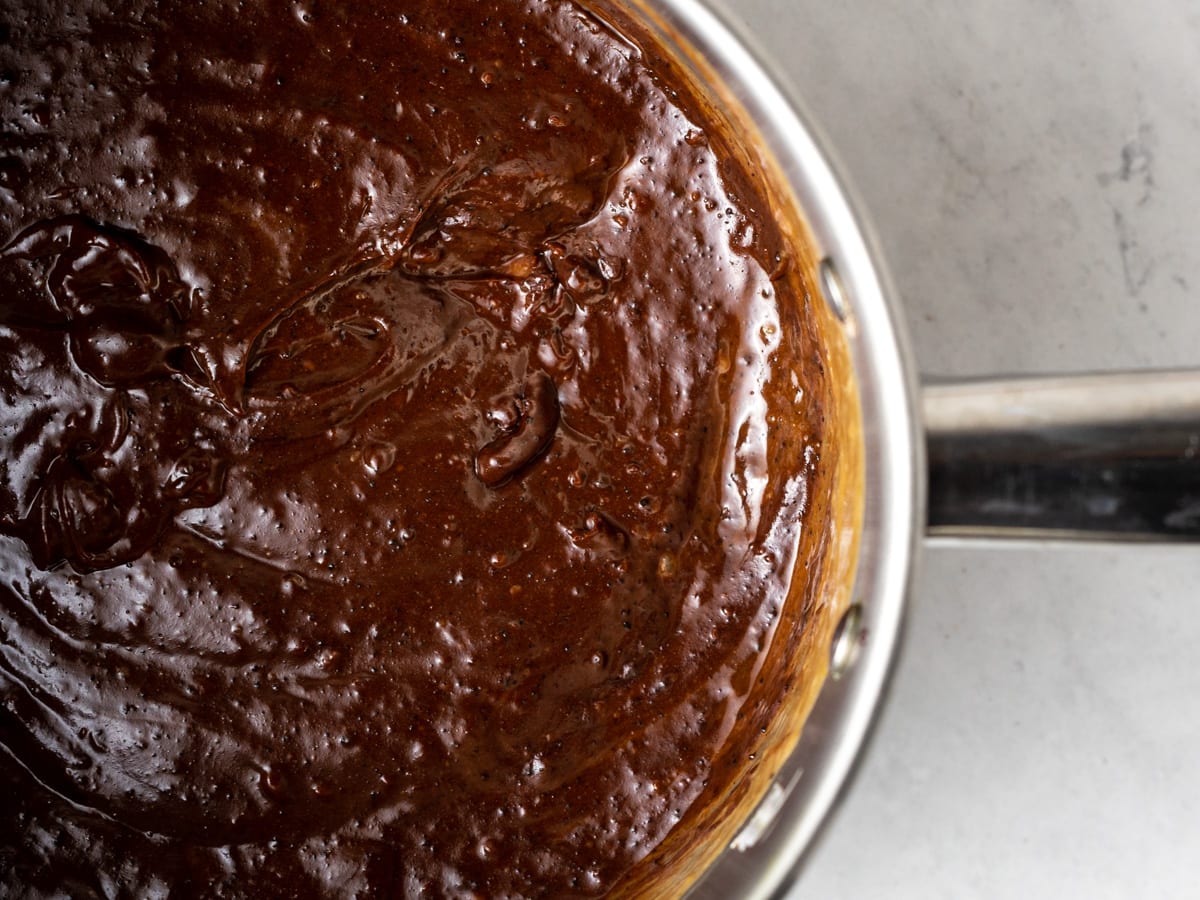
- In the meantime, melt the dark chocolate and stevia chocolate chips in the microwave.
- Remove the saucepan from the stovetop. Add in the melted chocolate and mix to combine.
- Add egg whites to a medium sized mixing bowl. Use a hand mixer to whip egg whites for 5 minutes. In this time, you should be able to get them into stiff peaks (here's a more in depth guide on that). If not, carry on. It'll still taste delicious.
- Slowly drizzle in the chocolate mixture, gently folding it into the whipped egg whites as you go.
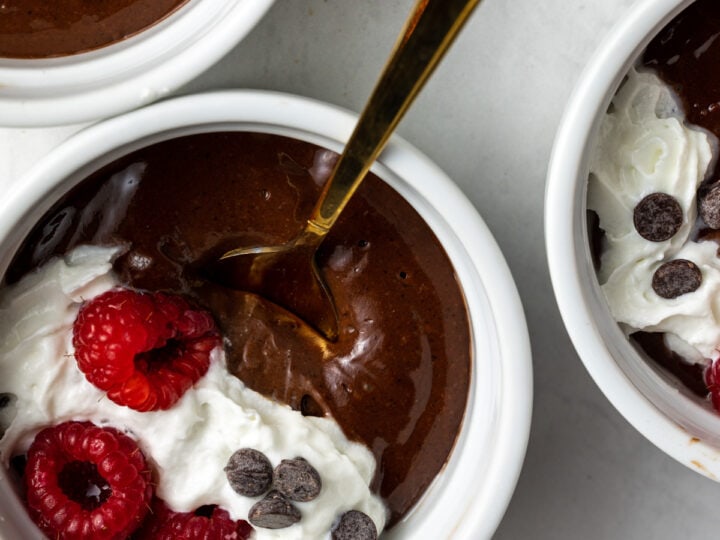
- Once combined, pour the protein mousse into 4 small ramekins.
- Refrigerate for 2 hours before serving.
- When ready to eat, remove the fridge and add optional toppings.
- Serve and enjoy!
Recipe Notes
- Don't skip the refrigeration step: This pudding will continue to thicken in the fridge. If you're looking for that traditional mousse texture, then be sure to plan ahead and cool for the full 2 hours.
- Don't burn the chocolate! To avoid this, microwave the chocolate in 20-second intervals, stirring between each interval. Otherwise it will start to scorch and have a burned flavour.
- Add optional toppings: The world is your oyster here. Although, I wouldn't top with oysters. Some of my favourite toppings for this protein mousse are whipped cream, berries, sliced banana, dark chocolate shavings, cacao nibs, chopped nuts, hemp hearts, drizzled nut butter, and unsweetened coconut flakes.
How To Store
- Fridge: store in an airtight container in the refrigerator for up to 5 days.
- Freezer: You can freeze greek yogurt, but the texture will change after thawing. It'll be less creamy and more chunky. For that reason, I suggest enjoying this chocolate mousse fresh. If you want to know more about freezing greek yogurt, I wrote a whole post about it here.
For the full ingredient list and step-by-step directions, scroll down to view the recipe card.
Equipment
Here's what you need to make this recipe.
- A small saucepan: A necessity to heat and combine the ingredients.
- A hand mixer or stand mixer: You'll need this to whip the egg whites into stiff peaks. You can do this with a large whisk as well. But, it's going to take you a lot longer (roughly 20 minutes) and a lot more elbow grease.
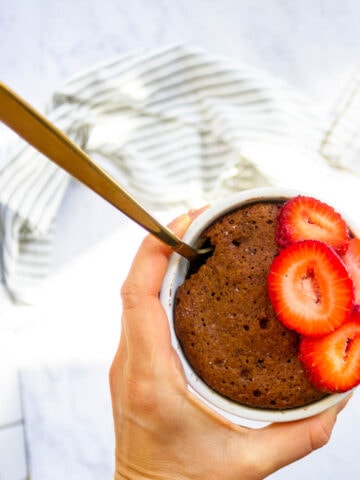
- Small ramekins: These make a pretty serving dish for the chocolate protein mousse. You can also use them for my mug cake recipe since they're oven safe. Or, to hold ingredients while preparing dinner. If you can't tell, I'm a huge ramekin fan. But, if you don't have any on hand, you can also use a small mason jar or mug to hold the chocolate mousse.
FAQs
Here are some of the most frequently asked questions about making this protein powder mousse.
When eggs are whipped using a whisk, hand mixer or stand mixer, air gets trapped inside causing the egg white to foam, stiffen and increase in volume.
Stiff peaks are necessary for a number of recipes, like mousses, frostings and meringues. In this recipe, the stiff peaks are needed for that perfect mousse consistency.
Any amount of grease or egg yolk will prevent your egg whites from forming stiff peaks. So, be sure to properly separate your egg yolks and use a clean, dry mixing bowl.
If you're not sure how to separate egg yolks from whites, here's a good guide from Gordon Ramsay. My favourite method is the traditional eggshell method.
If you're not getting stiff peaks, there are a number of things you can try: adding cream of tartar, using room temperature eggs, ensuring dishes are clean and dry.
I don't use cream of tartar in this recipe because it is possible to achieve stiff peaks without it. But, if you're having trouble reaching the right consistency, you can add a small amount.
These fixes are all outlined in more detail here.
How To Serve
Now that you've made your high protein chocolate mousse, it’s time to top it with all the good stuff. Here are a few of my favourite options.
- Whipped cream or coconut whipped cream
- Fruit, like berries, sliced banana, mangos or peaches
- Dark chocolate shavings or cacao nibs
- Chopped nuts, hemp hearts, chia seeds or unsweetened coconut flakes
- Drizzled nut butter, like my homemade almond butter.
Similar Recipes
Sweet tooth still going strong? If you enjoyed this recipe for chocolate protein mousse, I invite you to browse through my collection of other healthy desserts or check out the ones that I hand selected for you below.
If you make this chocolate protein mousse, please consider leaving a star rating and a comment. Don't forget to tag @caiteyjay on Instagram or @caiteyjay on Pinterest so I can see your creations.
Print
Chocolate Protein Mousse
- Prep Time: 20 minutes
- Cook Time: 2 hours
- Total Time: 2 hours + 20 minutes
- Yield: 4 1x
- Category: Dessert
- Method: Stovetop, Hand Mixer
- Cuisine: American
Description
This chocolate protein mousse is rich, delicious and... healthy. Thanks to a few smart ingredient swaps, I've made a healthier twist on the traditional dessert that's packed with protein and good fats. I promise you're going to love it.
Ingredients
- 3 eggs, separated into yolks and whites
- ¾ cup plain non-fat greek yogurt
- ¼ cup coconut sugar
- 2 tablespoons flour
- ½ cup dark chocolate, melted
- ½ cup stevia chocolate chips (I use Lily's Dark Chocolate Chips)
- 1 scoop chocolate protein powder
- ⅛ teaspoon (a pinch) sea salt
Instructions
- Add egg yolks, greek yogurt, protein powder, coconut sugar, flour and sea salt to a small saucepan. Whisk until combined.
- Place saucepan on stovetop and warm mixture over low heat. Stir constantly for 3 minutes.
- In the meantime, melt the dark chocolate and stevia chocolate chips in the microwave.
- Remove the saucepan from the stovetop. Add in the melted chocolate and mix to combine.
- Add egg whites to a medium sized mixing bowl. Use a hand mixer to whip egg whites for 5 minutes. In this time, you should be able to get them into stiff peaks. If not, carry on. It'll still taste delicious.
- Slowly drizzle in the chocolate mixture, gently folding it into the whipped egg whites as you go.
- Once combined, pour the protein mousse into 4 small ramekins.
- Refrigerate for 2 hours before serving.
- When ready to eat, remove the fridge and add optional toppings. You can find suggestions in the recipe notes below.
Notes
- Don't skip the refrigeration step: This pudding will continue to thicken in the fridge. If you're looking for that traditional mousse texture, then be sure to plan ahead and cool for the full 2 hours.
- Don't burn the chocolate! To avoid this, microwave the chocolate in 20-second intervals, stirring between each interval. Otherwise it will start to scorch and have a burned flavour.
- Add optional toppings: The world is your oyster here. Although, I wouldn't top with oysters. Some of my favourite toppings for this protein mousse are whipped cream, berries, sliced banana, dark chocolate shavings, cacao nibs, chopped nuts, hemp hearts, drizzled nut butter, and unsweetened coconut flakes.
Keywords: protein mousse, high protein desserts, chocolate mousse, chocolate desserts, healthy desserts


Leave a comment!